Getting your script
Once you've customized your banner, the next step is adding it to your website. One Privacy gives you a single line of code to install. This page shows you where to find it.
Open the Scripts page
Open your project and go to Banner Configuration → Scripts.
You'll see two tabs: Test and Production.
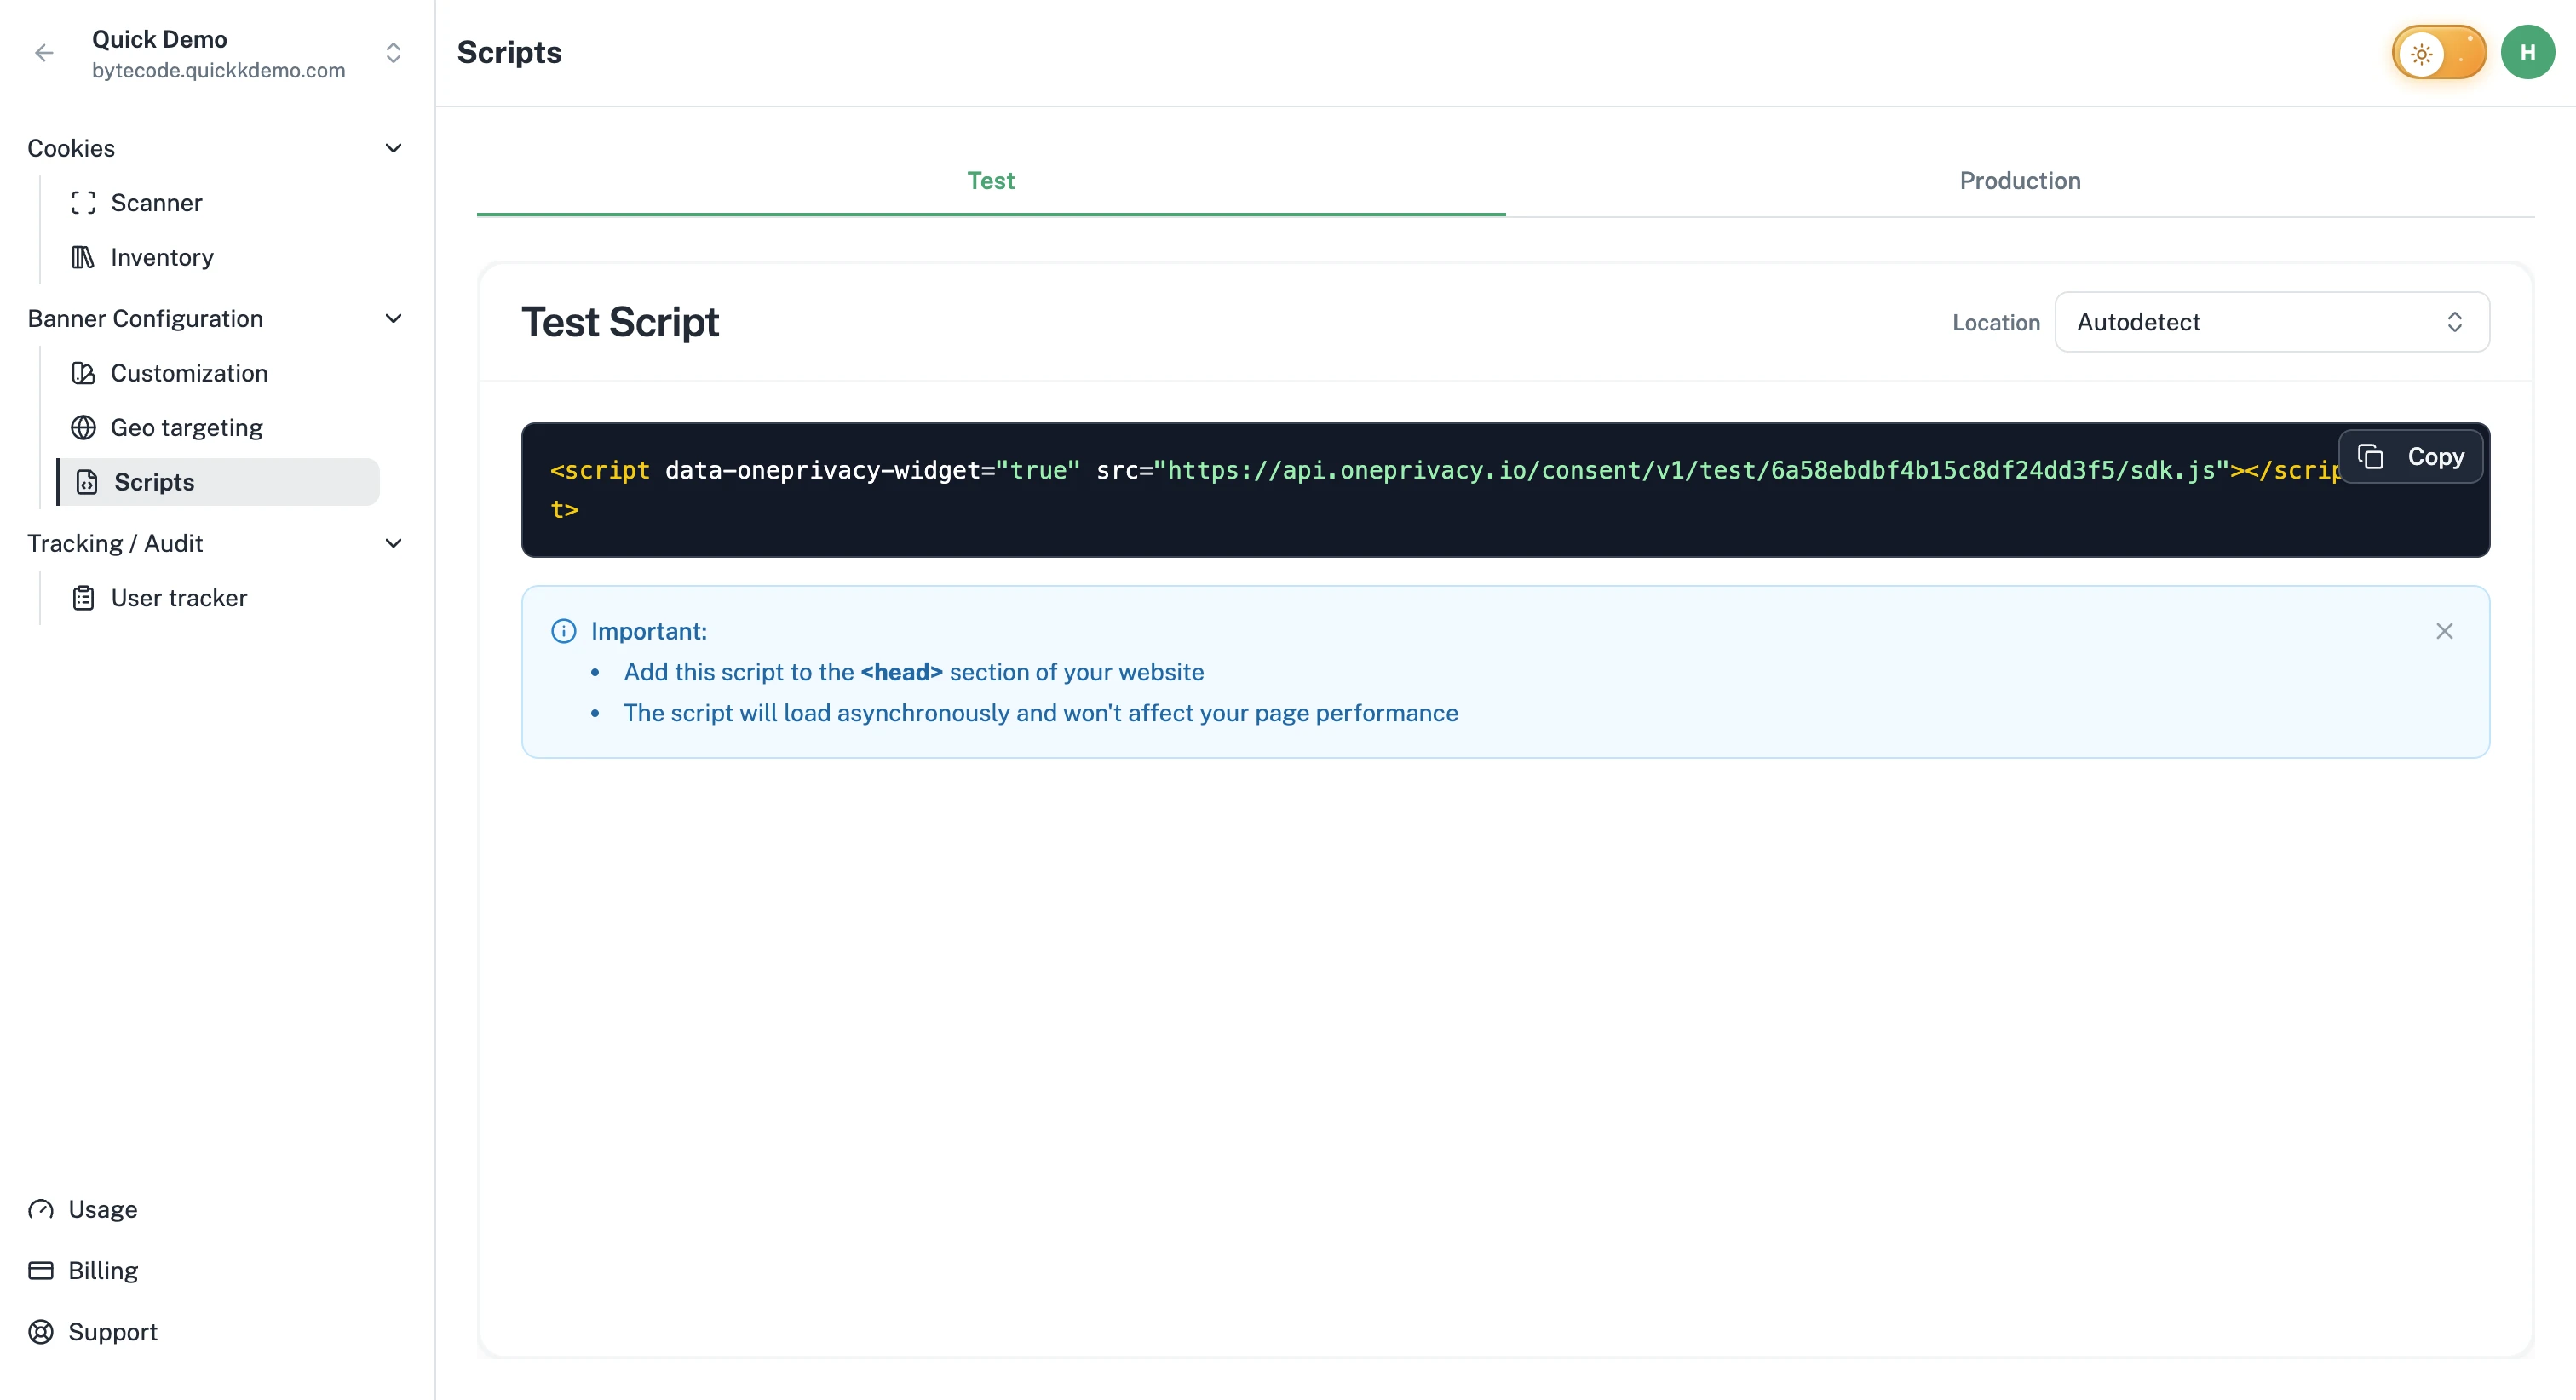
Test vs Production
Test (available on paid plans). Use this snippet on a staging or development version of your website. It loads whatever you've published to the Test environment, so you can verify changes safely before they reach real visitors. The Test tab also has a Location dropdown so you can preview the experience for any region.
Production. Use this snippet on your real, live website. It loads the banner you've published to Live. Available on every plan, including Free.
Copy the script
On either tab, click the Copy icon next to the snippet. The full <script> tag is now on your clipboard.
- Production
- Test
<script data-oneprivacy-widget="true"
        src="https://api.oneprivacy.io/consent/v1/live/<projectId>/sdk.js"></script>
<script data-oneprivacy-widget="true"
        src="https://api.oneprivacy.io/consent/v1/test/<projectId>/sdk.js"></script>
Install it on your website
Where the script goes depends on how your website is built. Pick the guide that matches your setup.
Install the Test script on staging.
Install the Production script on your live site.
Install with Google Tag Manager.
After installing
Open the website in a fresh browser session (incognito works well). The banner should appear within a couple of seconds.
If it doesn't, see Troubleshooting installation or Verifying the banner is live.