Publishing to Test
Publishing to Test sends your latest changes to the test environment, so you can run the banner on a staging or development version of your site before it reaches real visitors.
This is the safety net between editing and going live.
When to publish to Test
Any time you want to verify a change on a real website (your staging or development site), not just in the dashboard preview.
Always before you publish to Live.
Publish to Test
In your project, open Customization. Make your changes in the editor.
When the live preview looks right, click Publish to Test in the top right.
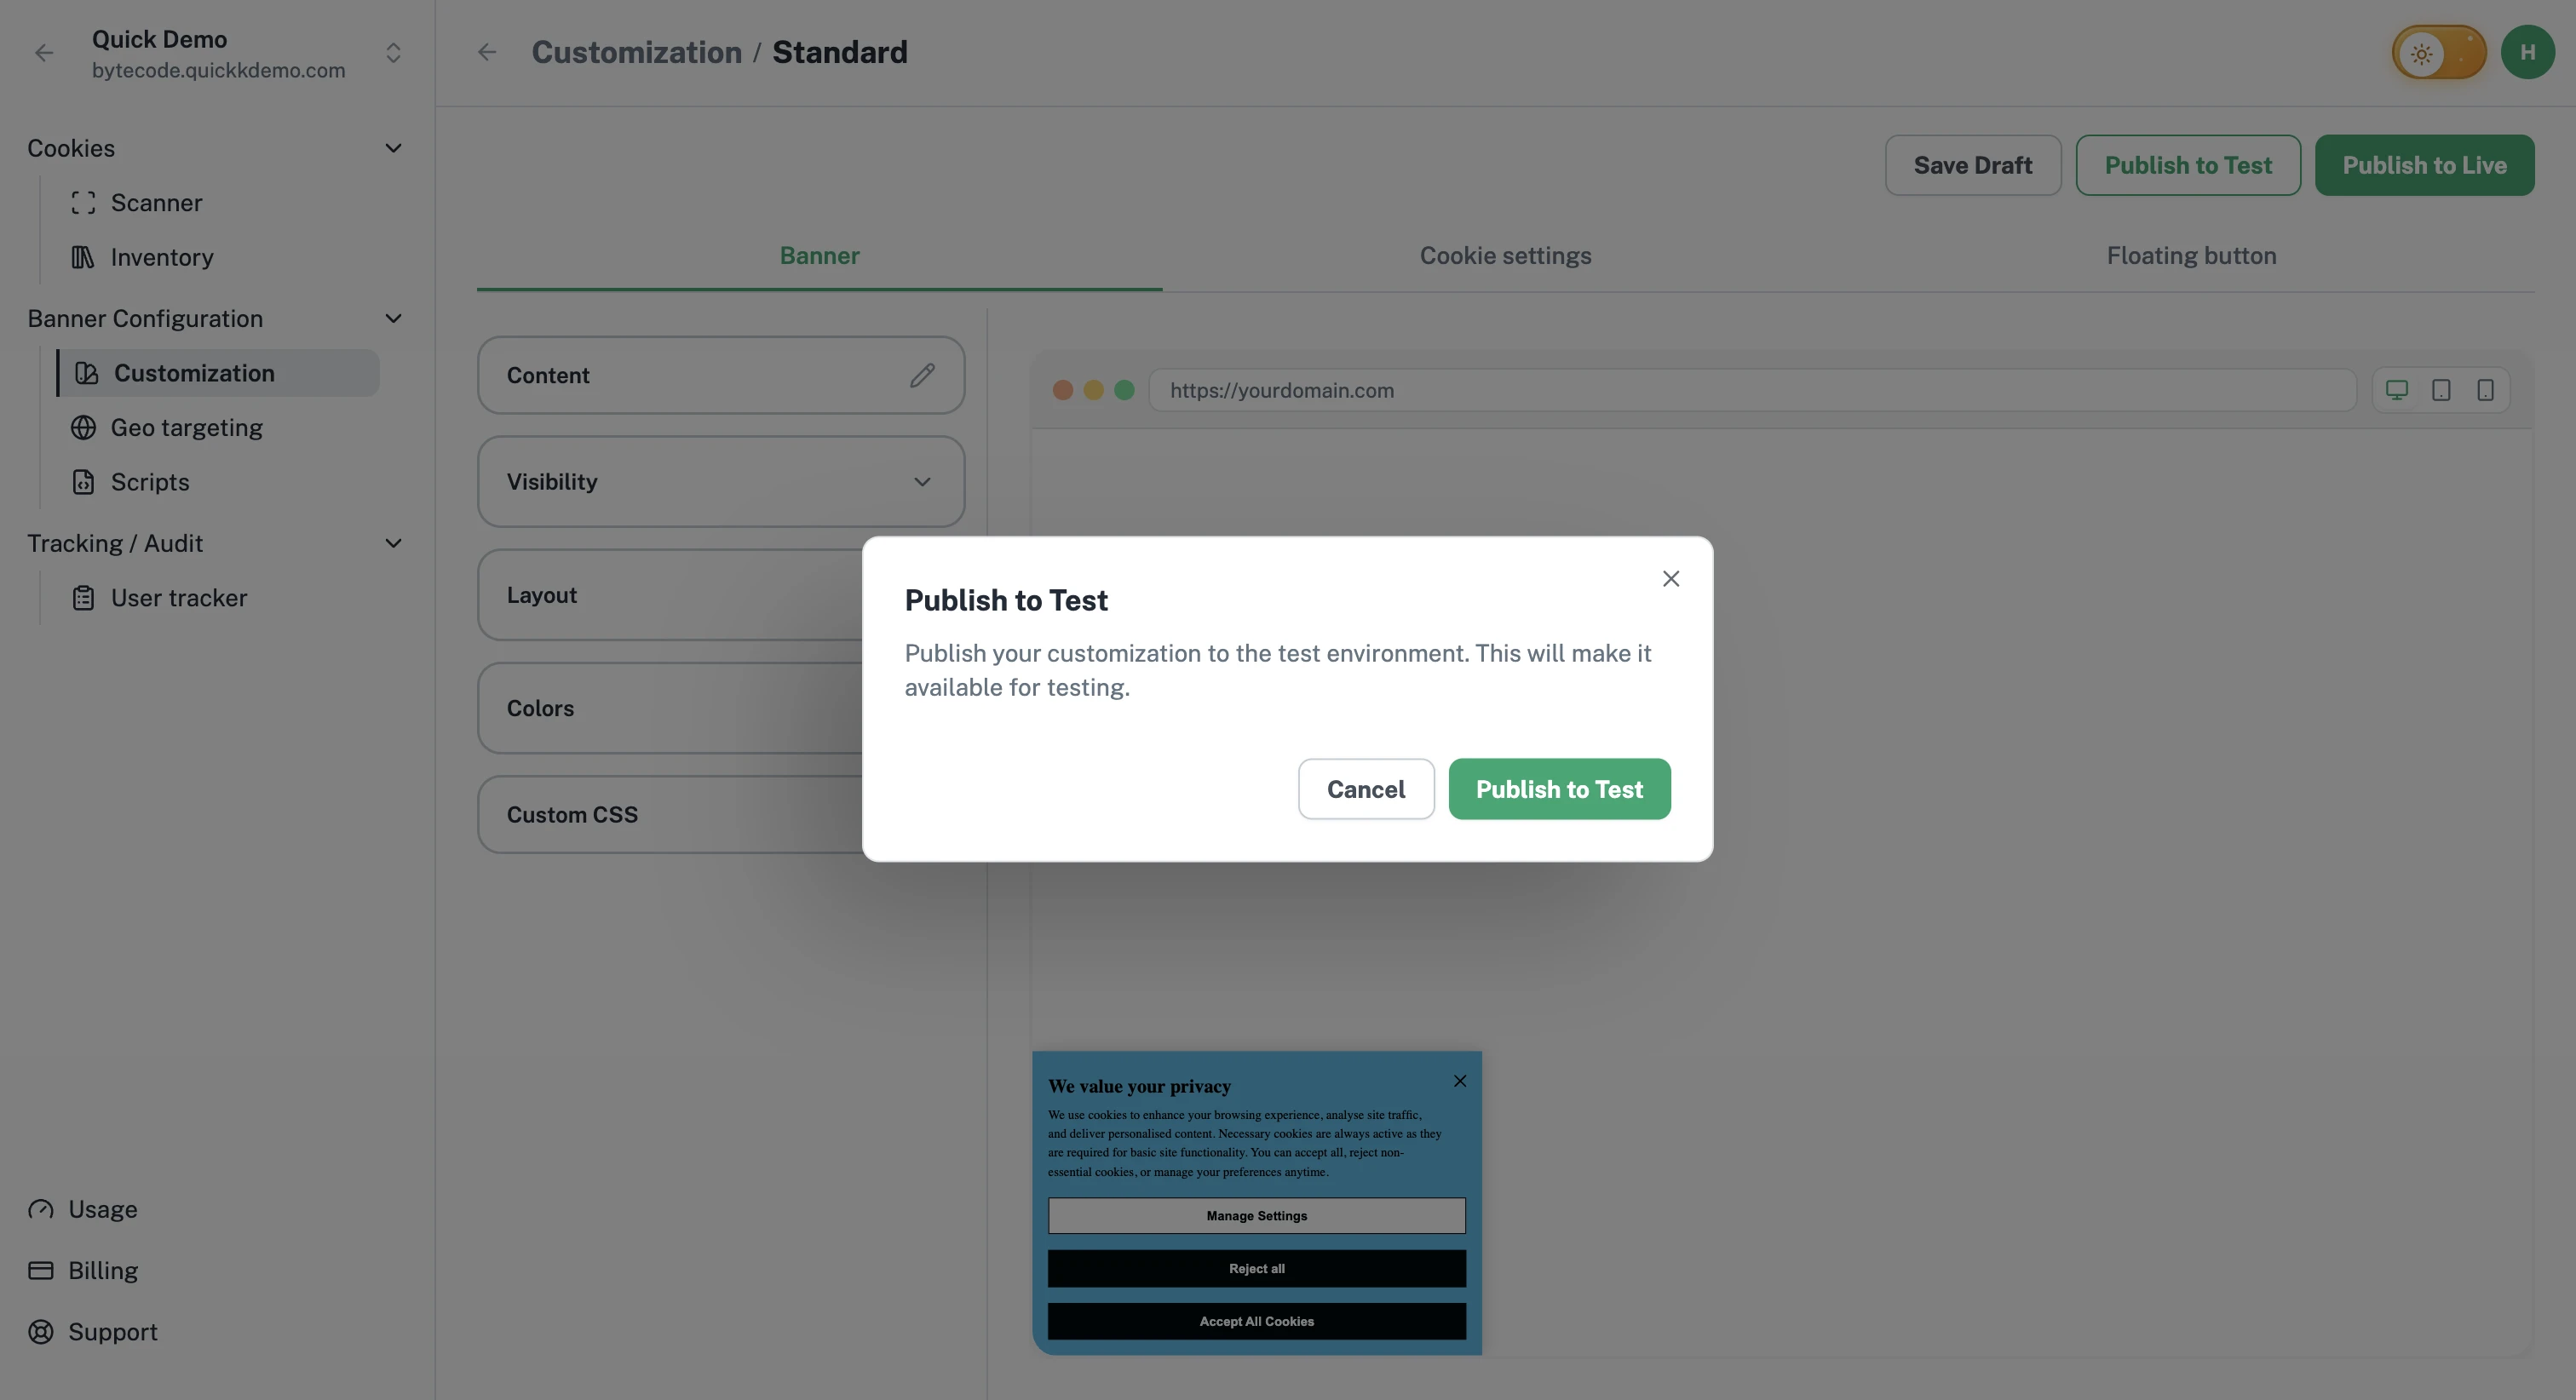
A short confirmation dialog appears. Click Publish to Test to confirm.
Your latest customization, content, and (if you've used it) custom CSS go to the Test environment. The banner served by the Test install snippet now reflects these changes.
Verify on your staging site
Make sure your staging or development website has the Test snippet installed. See Installing the Test script.
Open your staging site in a fresh browser session (incognito works well). Walk through the experience as a visitor would:
The banner appears on first load.
Accept All, Reject All, and Manage Settings each behave the way you expect.
The Cookie Settings popup looks right and the categories you enabled show up.
The floating button works after consent is given.
The banner shows the right languages.
Test on a mobile device or with the browser's responsive view.
After Test
If something doesn't look right, head back to the dashboard, fix it, and Publish to Test again.
When you're confident in the result, head to Publishing to Live.
If publishing fails
Occasionally a publish doesn't go through:
"Customization is required." The project has no saved customization yet. Open Customization, make sure your banner is set up, and save before publishing.
"Failed to publish. Please try again." Usually a temporary hiccup. Try once more; if it keeps failing, contact support.