Publishing to Live
When the banner looks right in the preview and works the way you expect on your test site, you're ready to publish to Live. This is the final step that takes your changes to real visitors.
Before you publish to Live
A short checklist that takes 5 minutes and saves a lot of "oh no" moments.
The banner has been verified on your staging or development site through Publish to Test. See Publishing to Test.
The colors and copy match your brand.
Every language you support has been translated and previewed.
The Cookie Settings popup, the floating button, and the main banner all look right.
You've checked on a mobile device.
If you use geo rules, you've tested at least one rule that matters to you.
Publish to Live
In Customization, click Publish to Live in the top right.
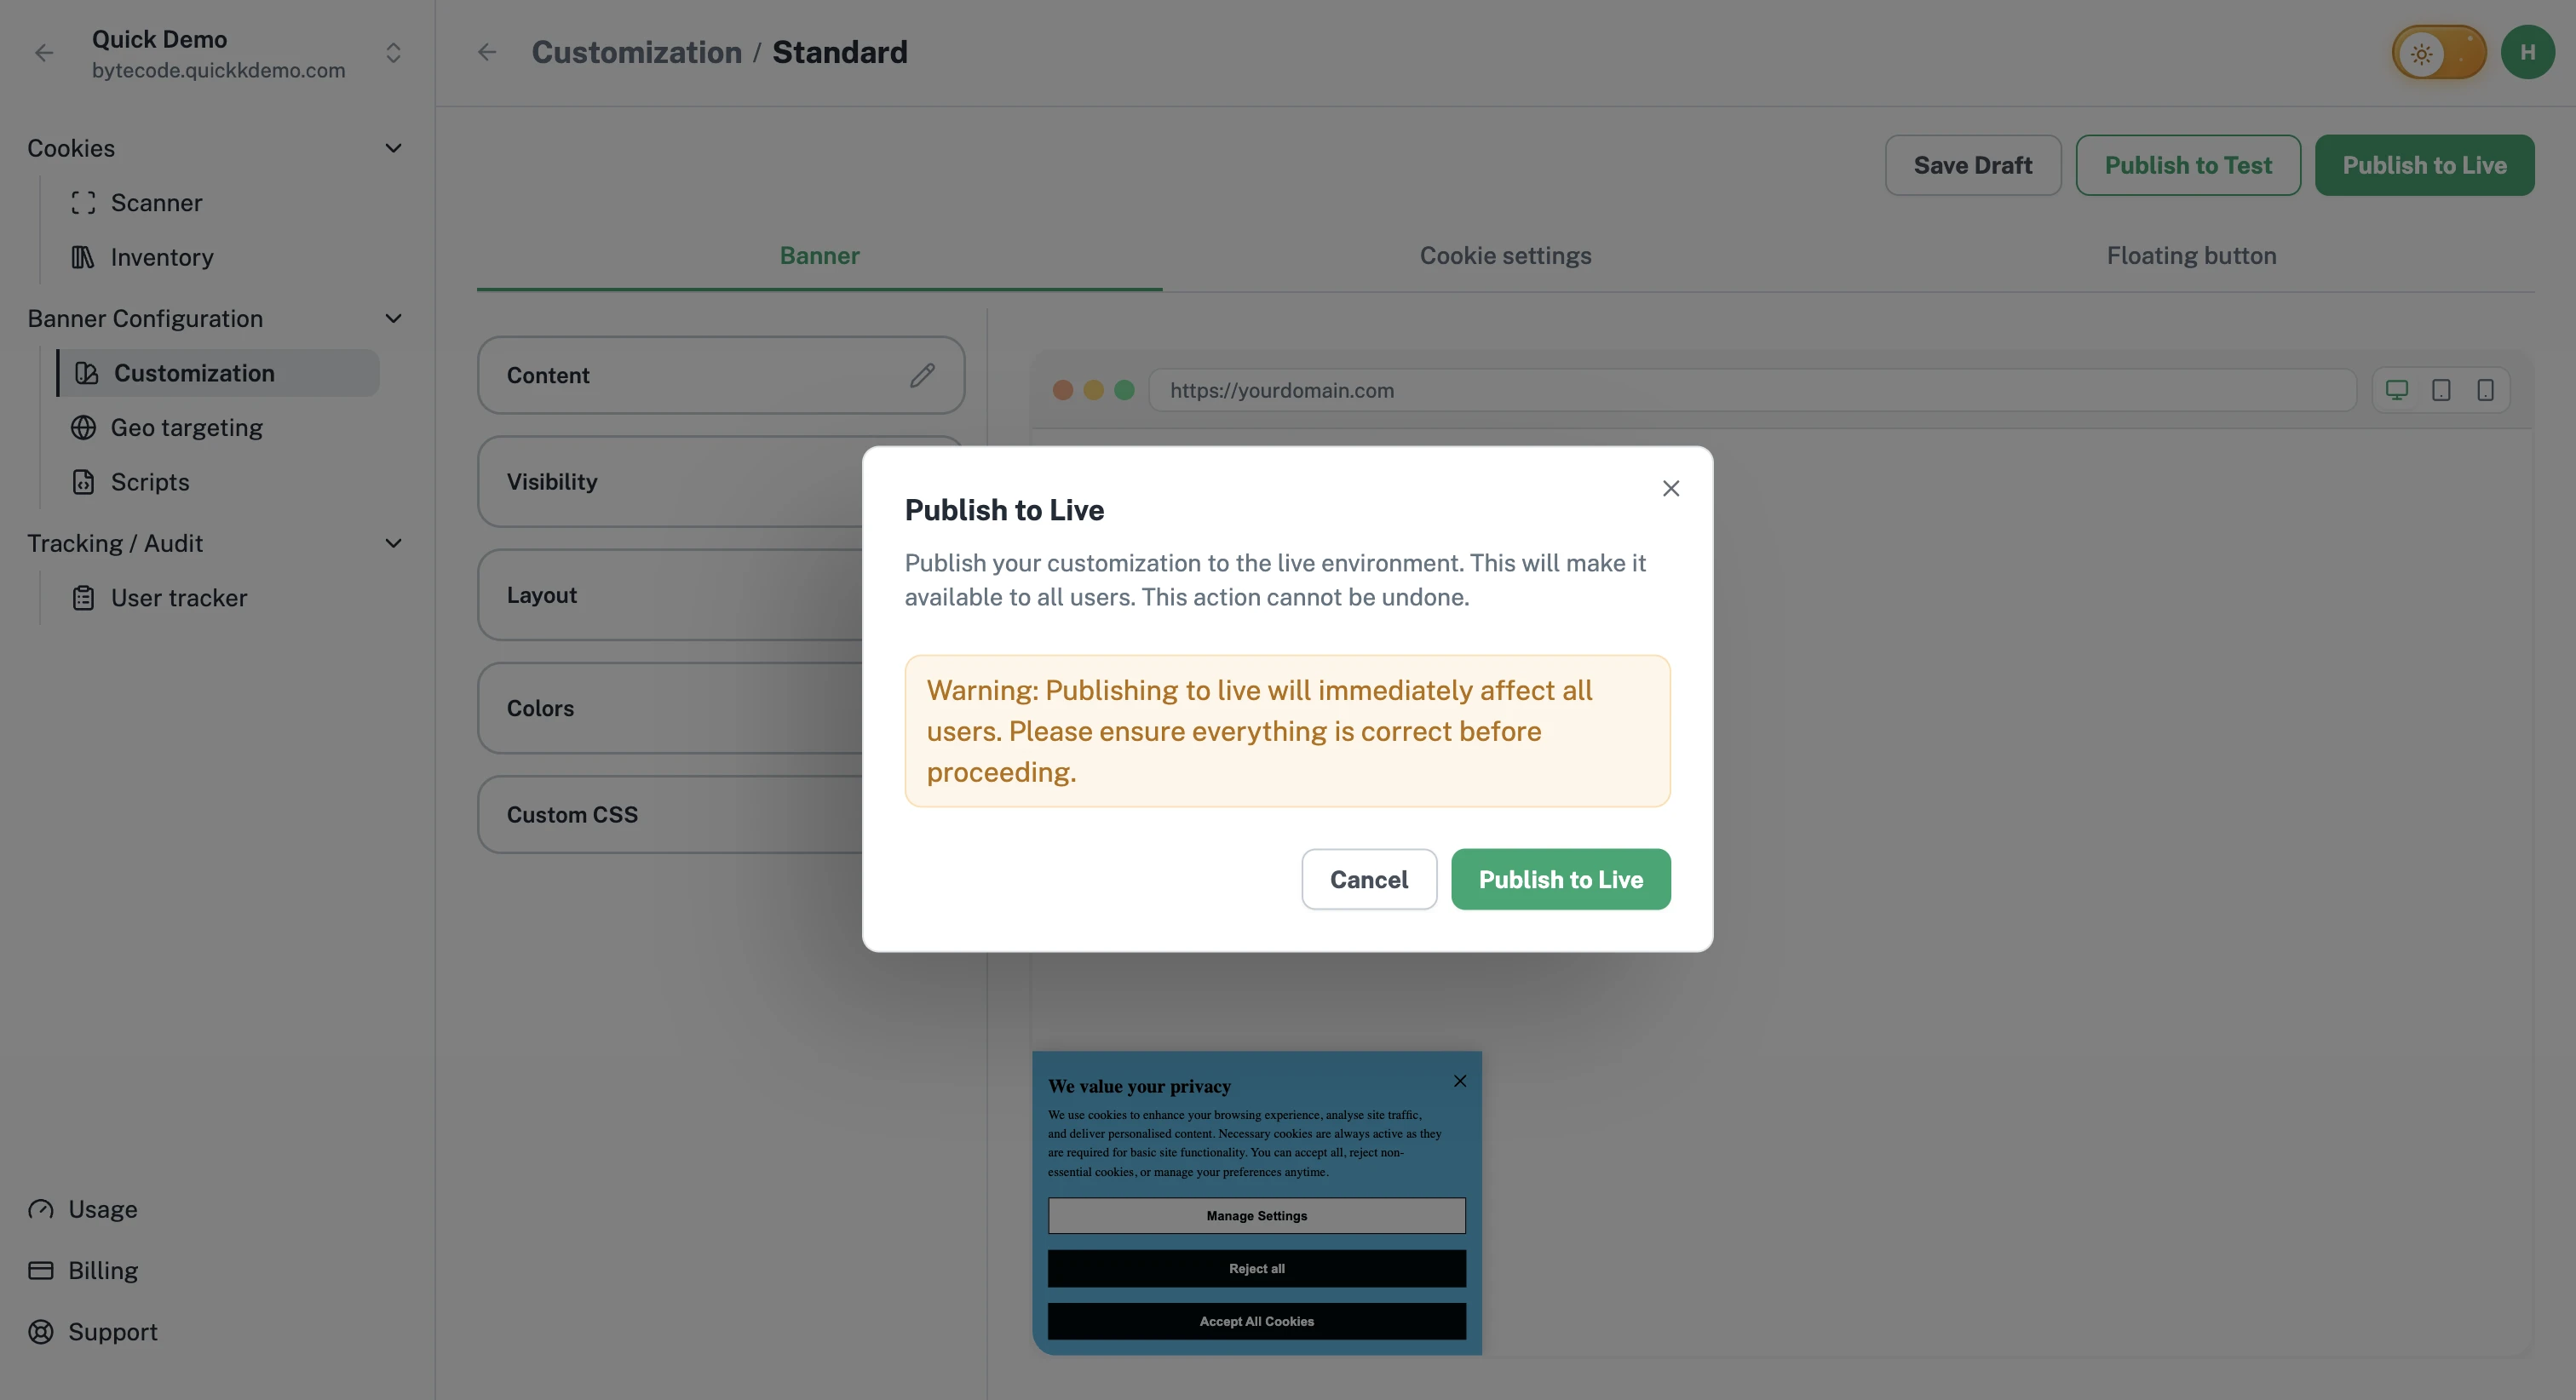
A confirmation dialog appears with a clear warning that this affects all your visitors right away. Click Publish to Live to confirm.
The change is applied. The banner served by the Production install snippet now reflects what you just published.
Confirm it's live
Open your real website in a fresh browser session (an incognito window works best). The banner that appears should match what you just published.
If it doesn't match, see Banner not appearing or Verifying the banner is live.
Rolling back
Every published version is its own snapshot. To roll back, edit the customization back to the previous version, save it as a draft, and publish to Live again. We're working on a one-click rollback in a future release.
If publishing fails
Occasionally a publish doesn't go through:
"Customization is required." The project has no saved customization yet. Open Customization, make sure your banner is set up, and save before publishing.
"Failed to publish. Please try again." Usually a temporary hiccup. Try once more; if it keeps failing, contact support.
What's next
Schedule another scan so the inventory stays current.