Banner customization overview
The Customization screen is where you shape your cookie banner. Pick the colors, the wording, the buttons, the languages, and where it sits on the page. Everything updates in a live preview as you go, and a safe publishing flow makes sure changes never reach your live site by accident.
Where to find it
Open your project and go to Banner Configuration → Customization. You'll see the list of your banners; click one to open it in the editor, or create another with Add New. A project can have several banners of different types, each aimed at a different audience. See Creating banners and banner types.
The three surfaces
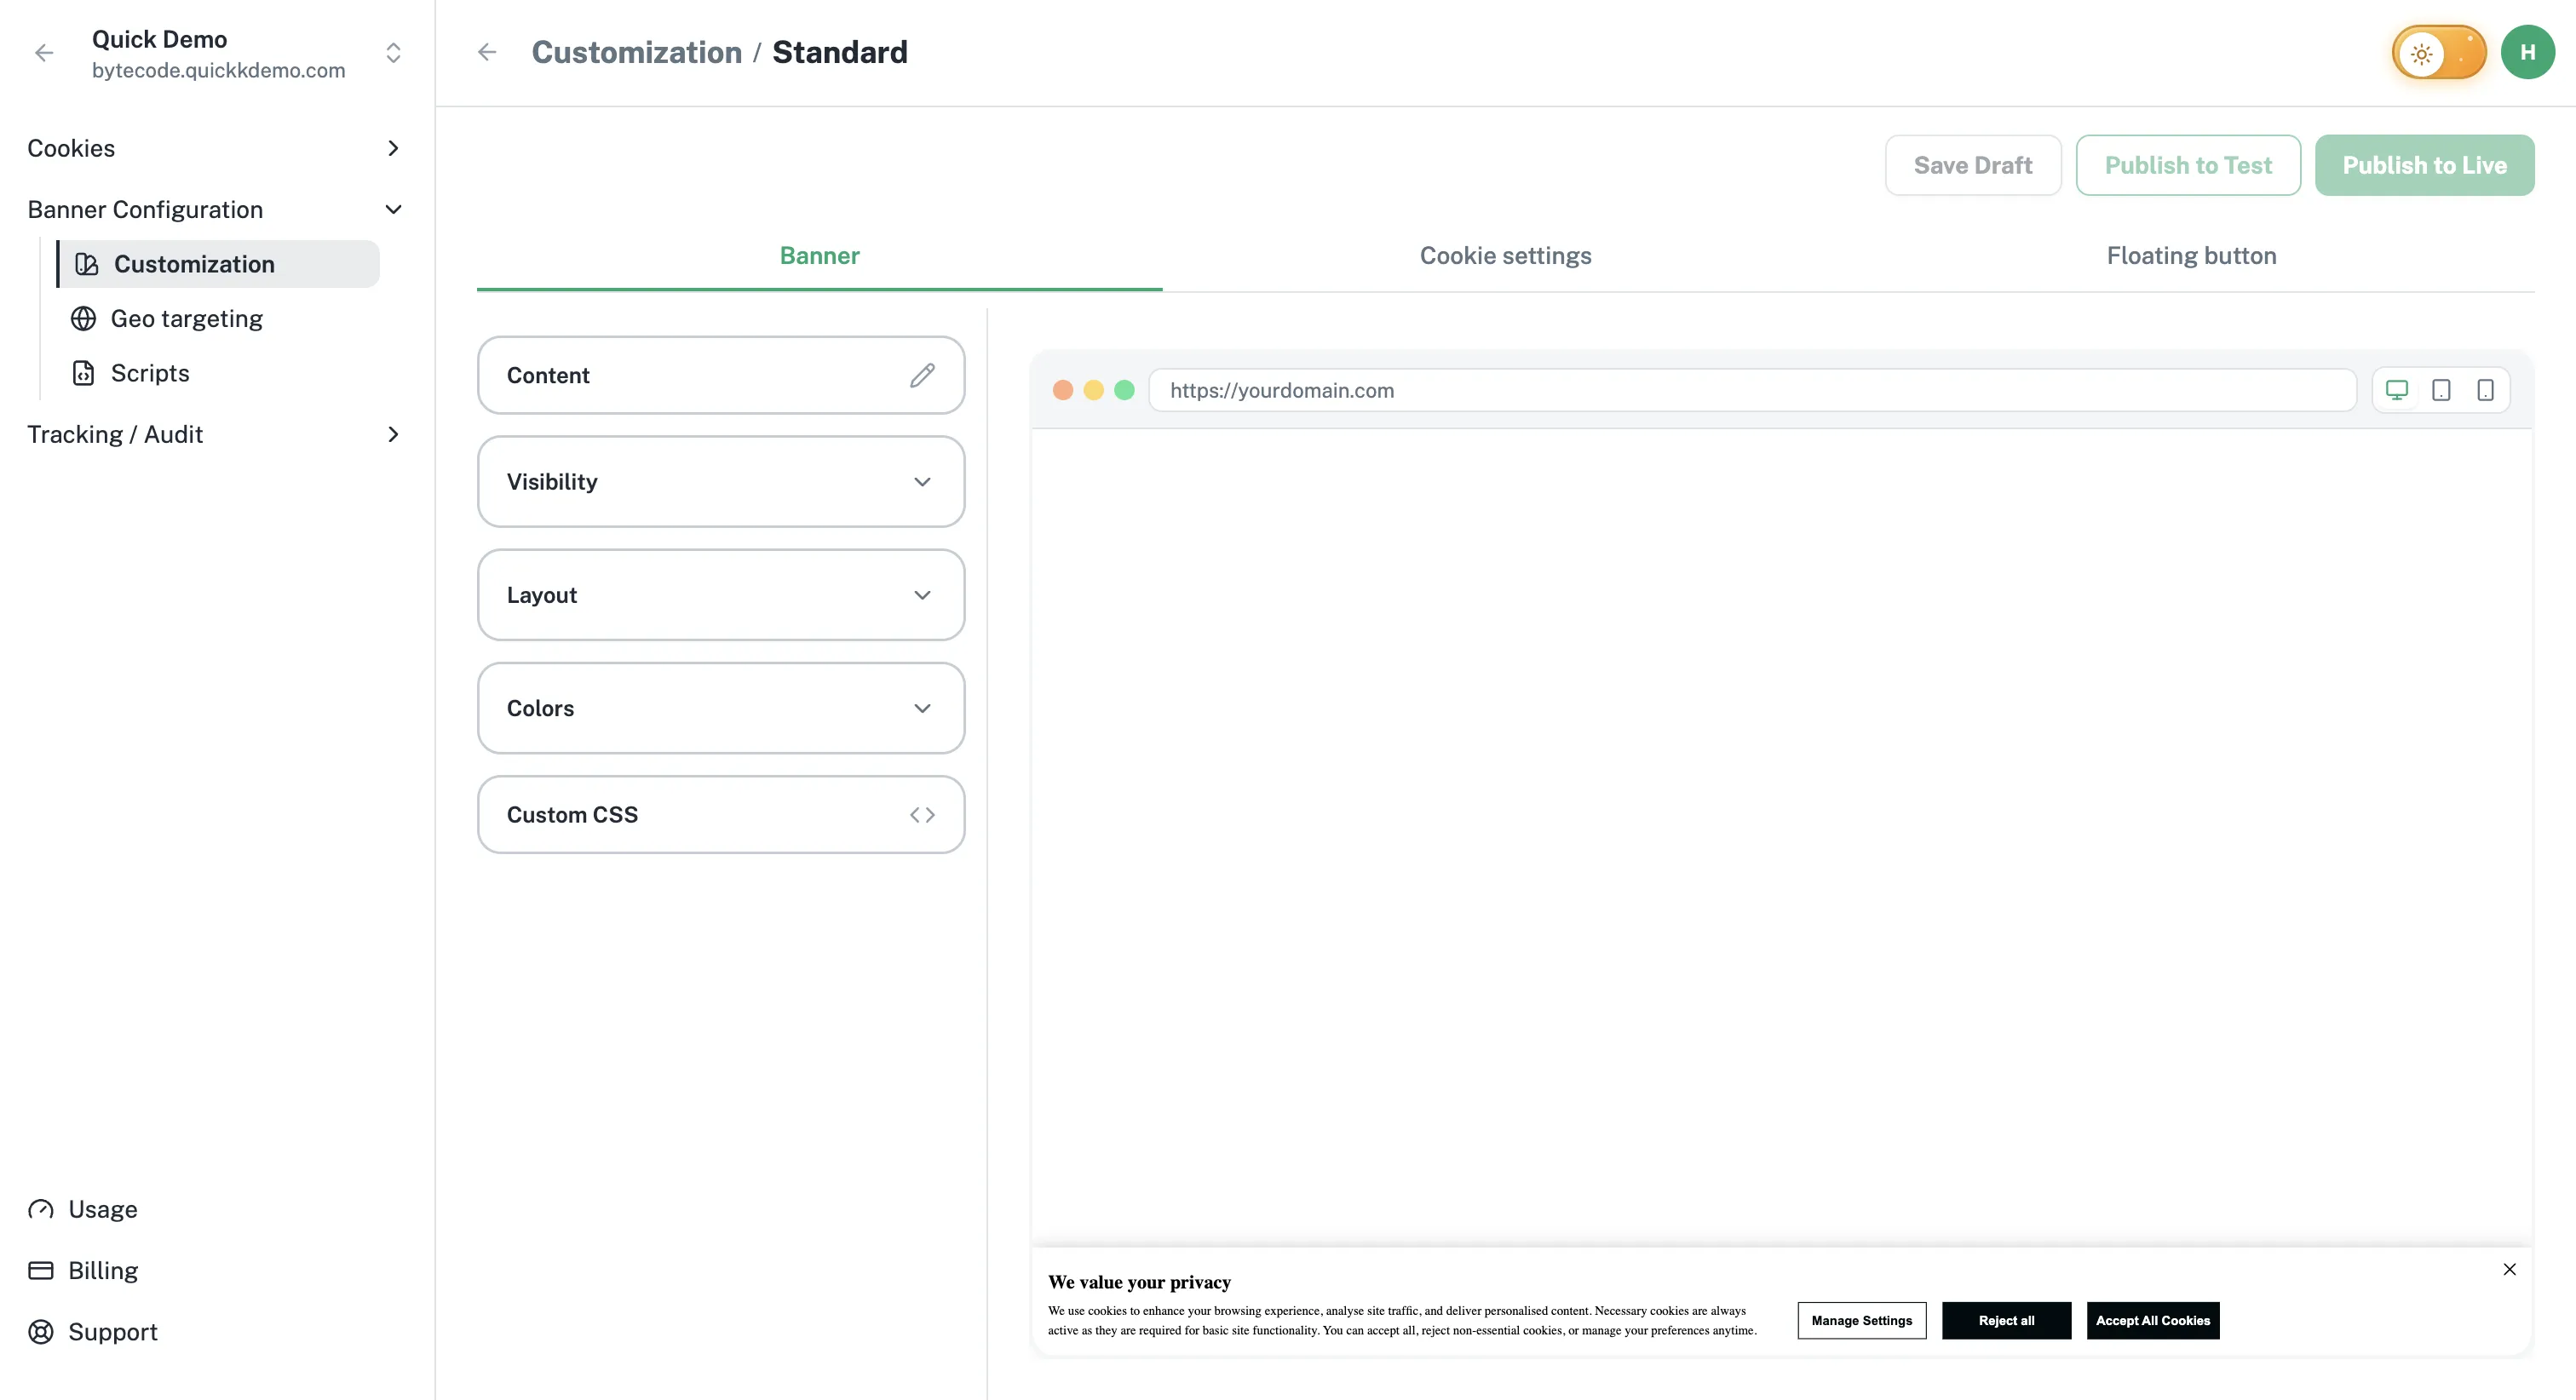
The screen has three tabs across the top, one for each banner surface.
Banner. The main banner first-time visitors see. Configure its position, colors, copy, and which buttons appear.
Cookie settings. The popup that opens when a visitor clicks Manage Settings. Here you control category titles, descriptions, and per-button styling.
Floating button. The small, persistent button visitors can click any time to reopen their preferences.
What you can change
Inside each tab you'll find a set of controls grouped by purpose:
Visibility. Toggle individual buttons and icons on or off (for example, hide Reject All if it's not relevant for a region). See Visibility settings.
Layout. Position the banner and tune its margins. See Layout and position.
Colors. Pick colors for the background, text, and every button. Each button has its own background, border, and text color. See Colors and theming.
Content. Edit every word visitors see, from the policy paragraph to button labels and category titles. See Editing banner content.
Languages. Add as many languages as your audience speaks; visitors see the banner in their browser language automatically. See Multilingual banners.
Custom CSS. A code editor for advanced styling beyond the visual controls, applied to every surface. See Custom CSS.
Not every tab has every group. The Cookie settings tab, for example, doesn't have a Layout accordion because the popup is centered by design.
Live preview
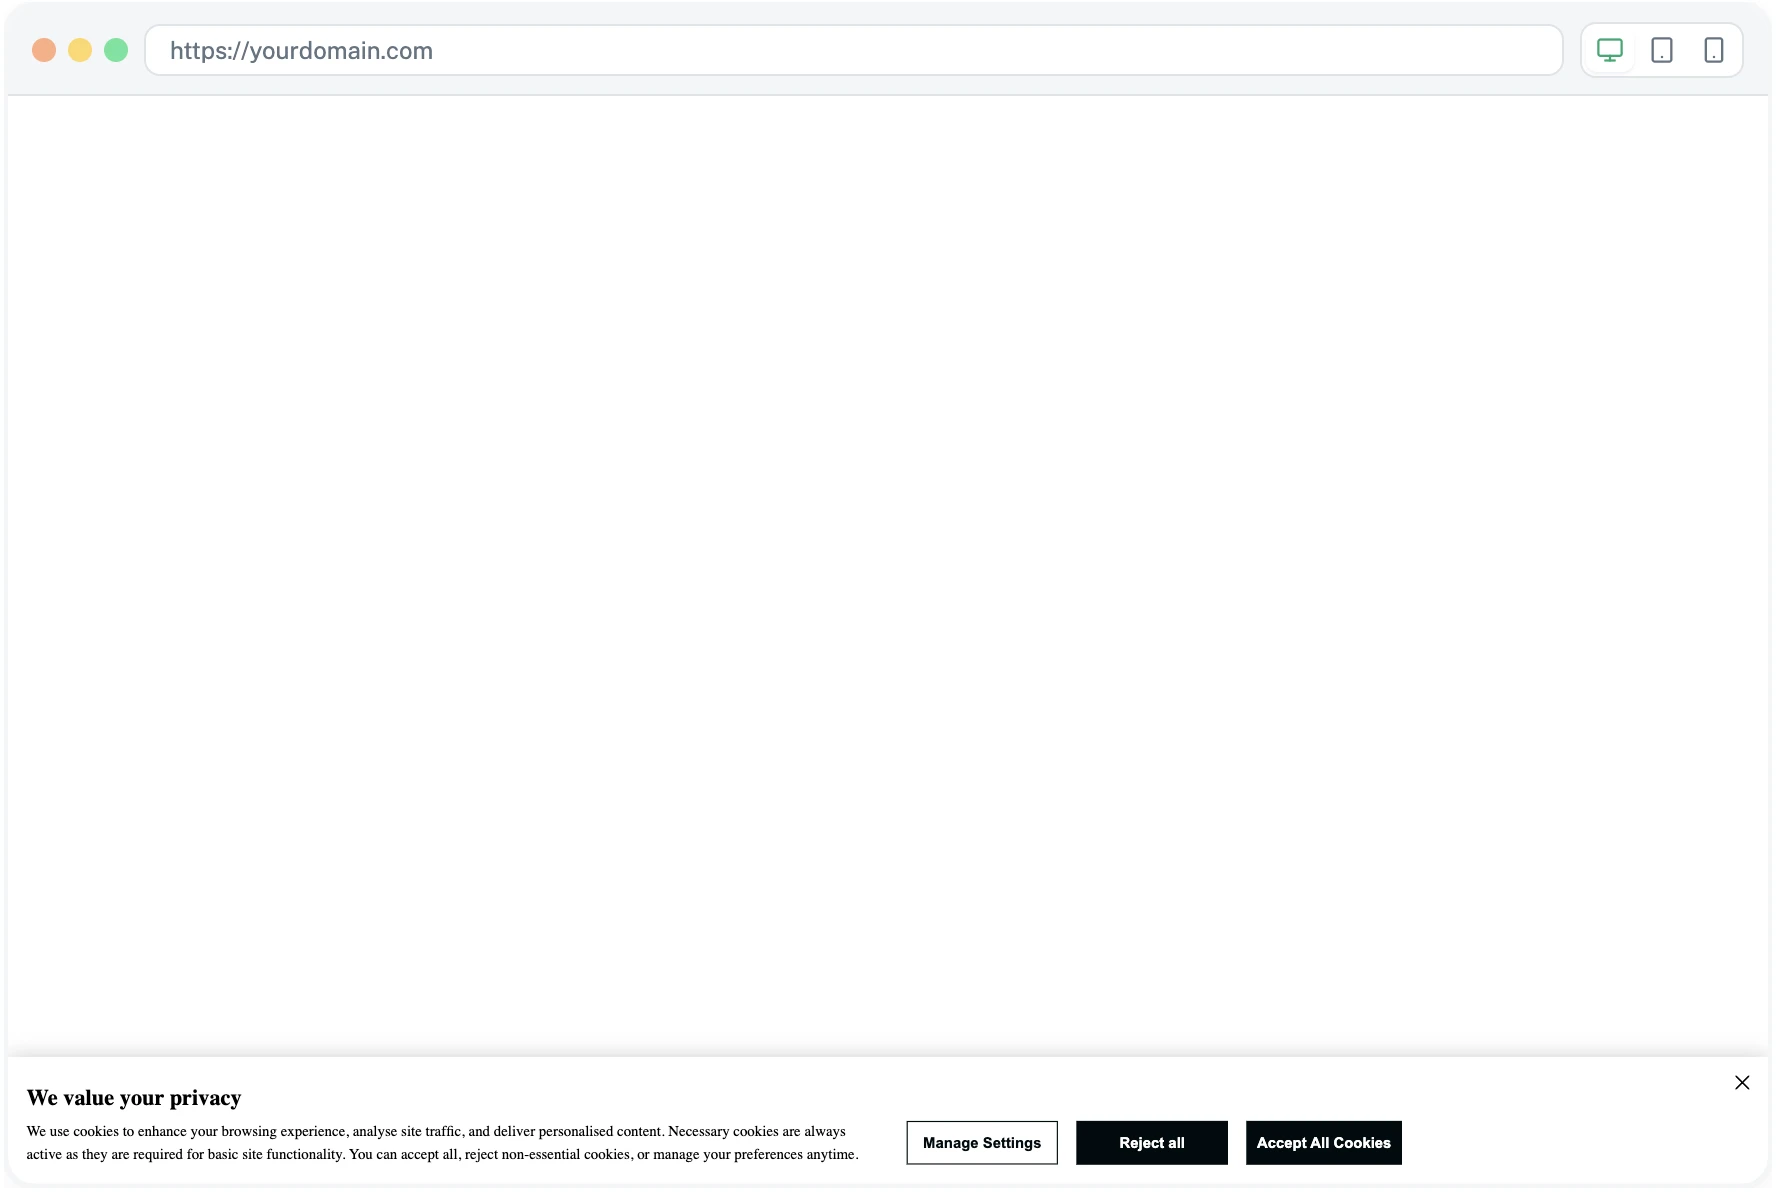
A live preview sits next to the controls. Every change you make appears instantly so you can see exactly what visitors will see.
If you've added languages, a small dropdown lets you switch the preview to any of them.
Publishing flow
Banner changes go through three stages so the live experience stays safe.
Save draft. Keep your work in progress; nothing is public yet.
Publish to Test. Push to a test environment to verify on your staging or development site (paid plans).
Publish to Live. When you're happy, push to your real website.
Read the full guide: Draft, Test, Live workflow.